


Bicycle Saddle Tilt: Identify the Clamp Before Changing the Position
Bicycle saddle tilt is the angle of the saddle, distinct from its height or its position along the bicycle. An intentional fit adjustment and a saddle that suddenly tips under the rider are different problems. Begin by describing which situation applies. Keep the bicycle out of use if the attachment moves unexpectedly, and identify the actual saddle-to-seatpost connection before choosing an adjustment procedure or asking for fitting help.
Separate bicycle saddle tilt from an insecure attachment
Write down whether the angle has always looked that way, changed during recent work or moved unexpectedly during use. A saddle that shifts is a retention concern, not a reason to teach the rider to sit farther back. Do not repeat the event under a child to produce a clearer demonstration. Ask a competent technician to inspect damaged, slipping or unfamiliar fittings, preserving the current observations without loosening hardware experimentally.
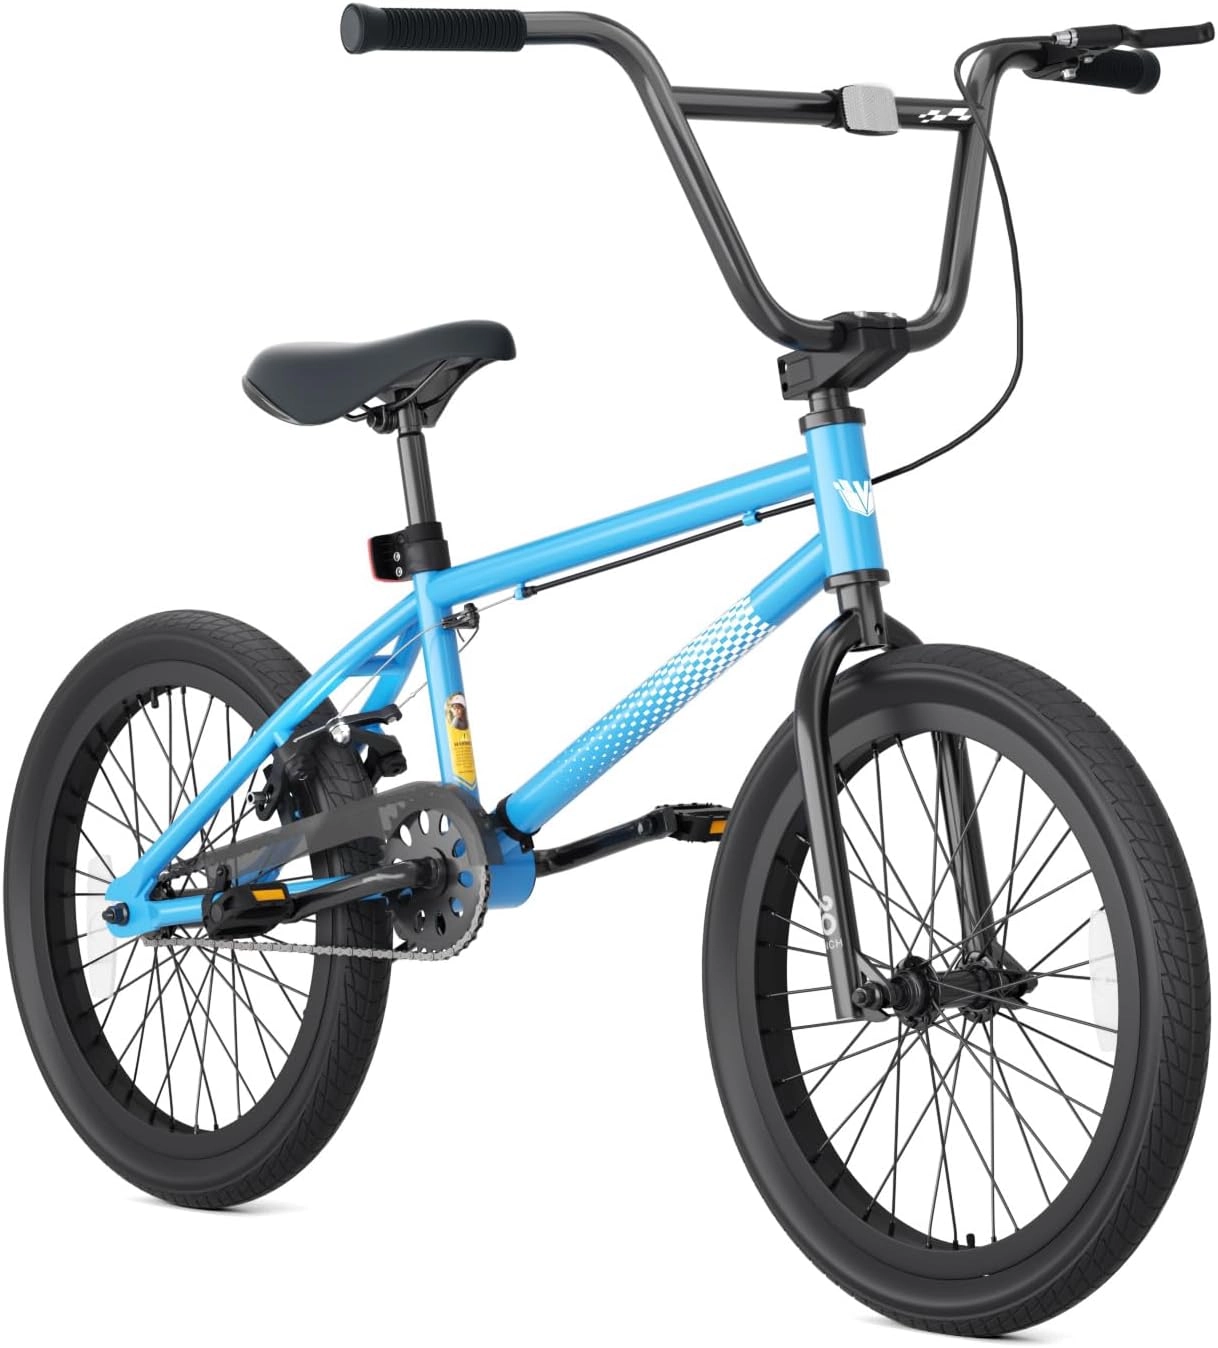
Check the exact clamp and available adjustment
Saddle connections vary, including different rail clamps and BMX-specific arrangements. An adjustable-saddle description does not identify which system is fitted or establish that every direction of movement is supported. Obtain the actual saddle and seatpost instructions, including compatibility, marked limits and fastening requirements. A bolt at the back is not necessarily the only fastening point. If the drawing does not match the delivered equipment, resolve that discrepancy before any adjustment begins.
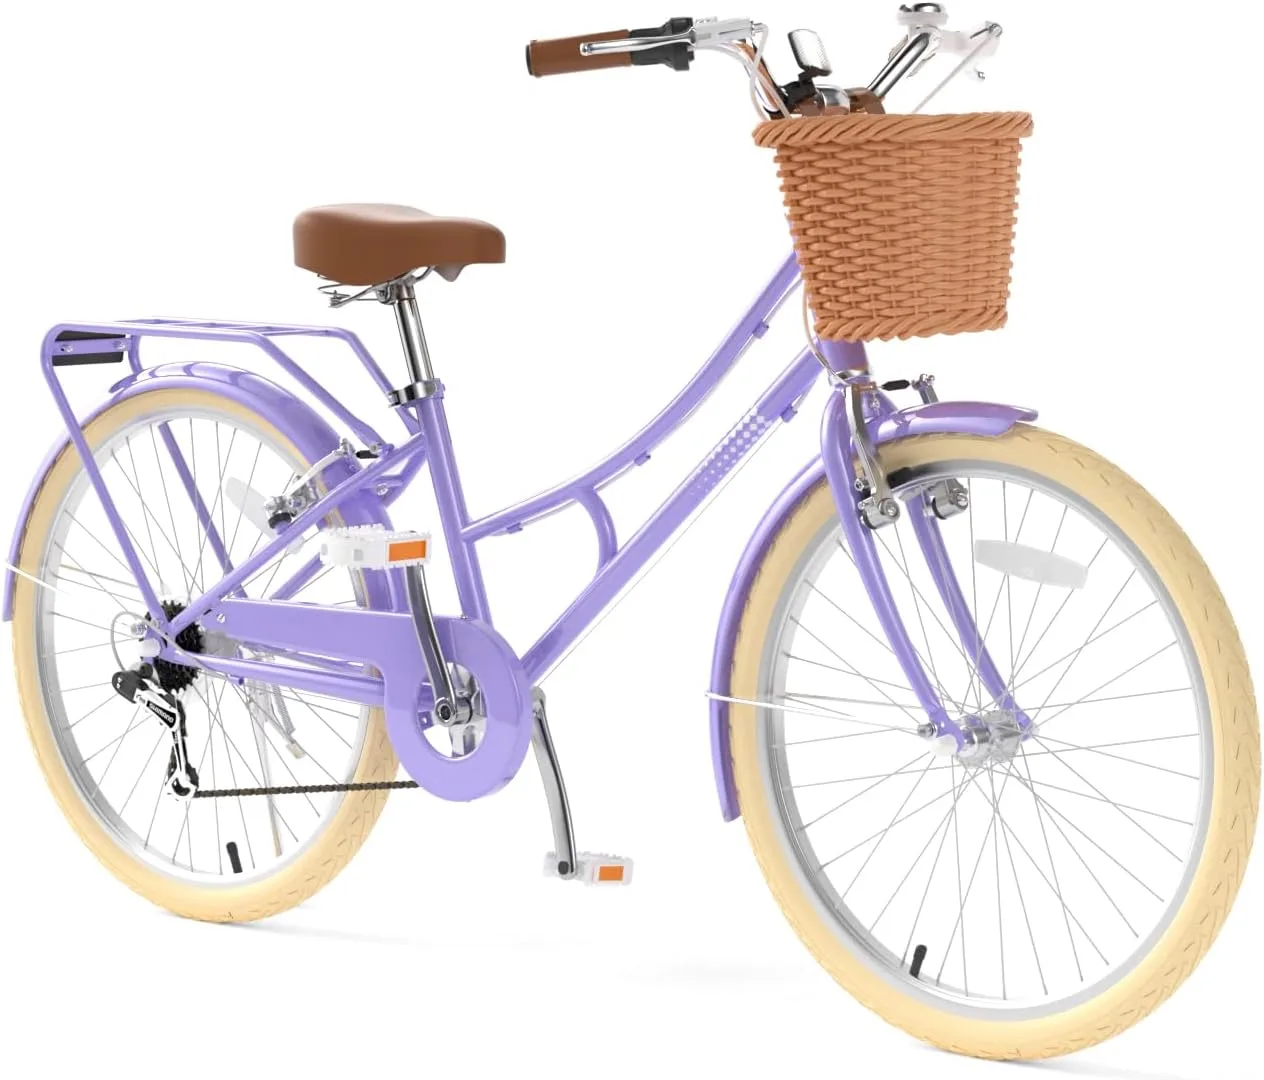
Record the starting position when an adjustment is appropriate
A competent fitter can record angle, height and fore-aft position with consistent reference points before a permitted change. Those records help explain what changed without treating the old position as automatically correct. Do not copy the angle of another bicycle’s photograph or move the rails beyond their marks to shorten reach. The usable position depends on the rider and actual equipment. A fitting concern may need a different size or component rather than a progressively steeper saddle.
Verify retention and the complete rider position afterward
Have the actual adjustment completed to the component instructions, including its specific fastening and security checks. This guide supplies no universal clamp torque or preferred angle. Recheck saddle height, ordinary reach and access to the controls after the work, because changing one contact point can affect the overall position. Begin only an appropriate controlled familiarization once readiness is established. Stop if the saddle moves again or the rider remains uncomfortable; repeated riding is not a substitute for resolving the setup.
Model details relevant to this task
The Blue 20-inch Basic BMX listing explicitly mentions an adjustable saddle, while the Purple geared cruiser offers a different seated layout. Their real catalog images provide equipment context without establishing a common clamp design, rail profile or angle range. The BMX label does not prove a pivotal saddle, and the cruiser image does not supply an approved adjustment sequence. The linked model details are available for XJD Blue 20-Inch Single-Speed BMX – Basic Model without Pegs, XJD Purple 24-Inch Cruiser with Shimano 6-Speed Gearing.
Quick checklist
- Describe planned change or unexpected movement.
- Identify the actual saddle connection.
- Obtain component-specific instructions.
- Record useful starting references.
- Verify retention and full position.
Common questions
Does adjustable saddle guarantee tilt adjustment?
No. Confirm the directions and limits supported by the actual saddle and seatpost arrangement.
Can a slipping saddle be corrected by sitting differently?
Keep the bicycle out of use and resolve its retention concern rather than compensating through posture.
Is there one torque for every saddle clamp?
No. Use the exact component requirements and competent service where the fitting is uncertain.
Related collections
The XJD actual bicycle contact-point layouts and XJD bicycle brand reference provide further model details. Check the exact selected configuration when planning fit, handling and care.
Before the next outing
Approach bicycle saddle tilt through equipment identity and a clear reason for the change. A properly completed fitting adjustment has documented limits and secure retention; unexpected movement needs resolution before another ride, regardless of how comfortable the angle once seemed.