


Bicycle Rim Brake Pad Wear: Read the Actual Pad Before Planning Service
Bicycle rim brake pad wear is a condition question, not a mileage estimate. Inspect the fitted brakes through their own maintenance guidance before deciding that a pad merely needs its cable tightened. Worn material, poor alignment and a damaged braking surface are different problems. If braking is uncertain, keep the bicycle out of use and have the complete system assessed rather than using a ride to see how much stopping remains.
Identify bicycle rim brake pad wear indicators on the fitted part
Start with the actual brake and pad identity. Read the maker’s inspection guidance for any grooves, wear line or minimum material requirement; not every visible groove is a universal replacement gauge. Inspect in good light with the bicycle stationary and supported. Do not borrow a remaining-thickness figure from another brand or brake type. If the relevant marking is absent or its meaning is unclear, arrange a competent assessment.
Look at the whole contact area
A pad can wear unevenly, so a thick-looking end does not describe the entire working surface. Check for visible damage and whether the pad meets the rim’s braking surface in the prescribed position. Contact with the tire, unexpected position changes or embedded material need attention. Do not oil a squealing brake, sand an unidentified pad or move it by guesswork. Keep hands and tools clear of moving wheels during inspection.
Do not confuse cable adjustment with fresh pad material
An adjustment can alter lever travel or clearance, but it does not replace material already worn away. Changing cable tension to make the lever feel firmer may leave another problem unresolved. Report what the lever did and what the adult observed instead of prescribing a cable fix. A technician should assess pad condition, rim condition, alignment and the rest of the braking system together, using the actual component requirements.
Choose a compatible replacement and verify the finished system
Replacement selection includes the actual brake fitting and rim requirements, not just the color or approximate length of the old pad. No common pad fit is established between all cruiser and BMX brakes. Have the prescribed installation and security checks completed, followed by the appropriate controlled brake verification before normal use. Record the service date and what was replaced so later wear observations have a clear starting point.
Model details relevant to this task
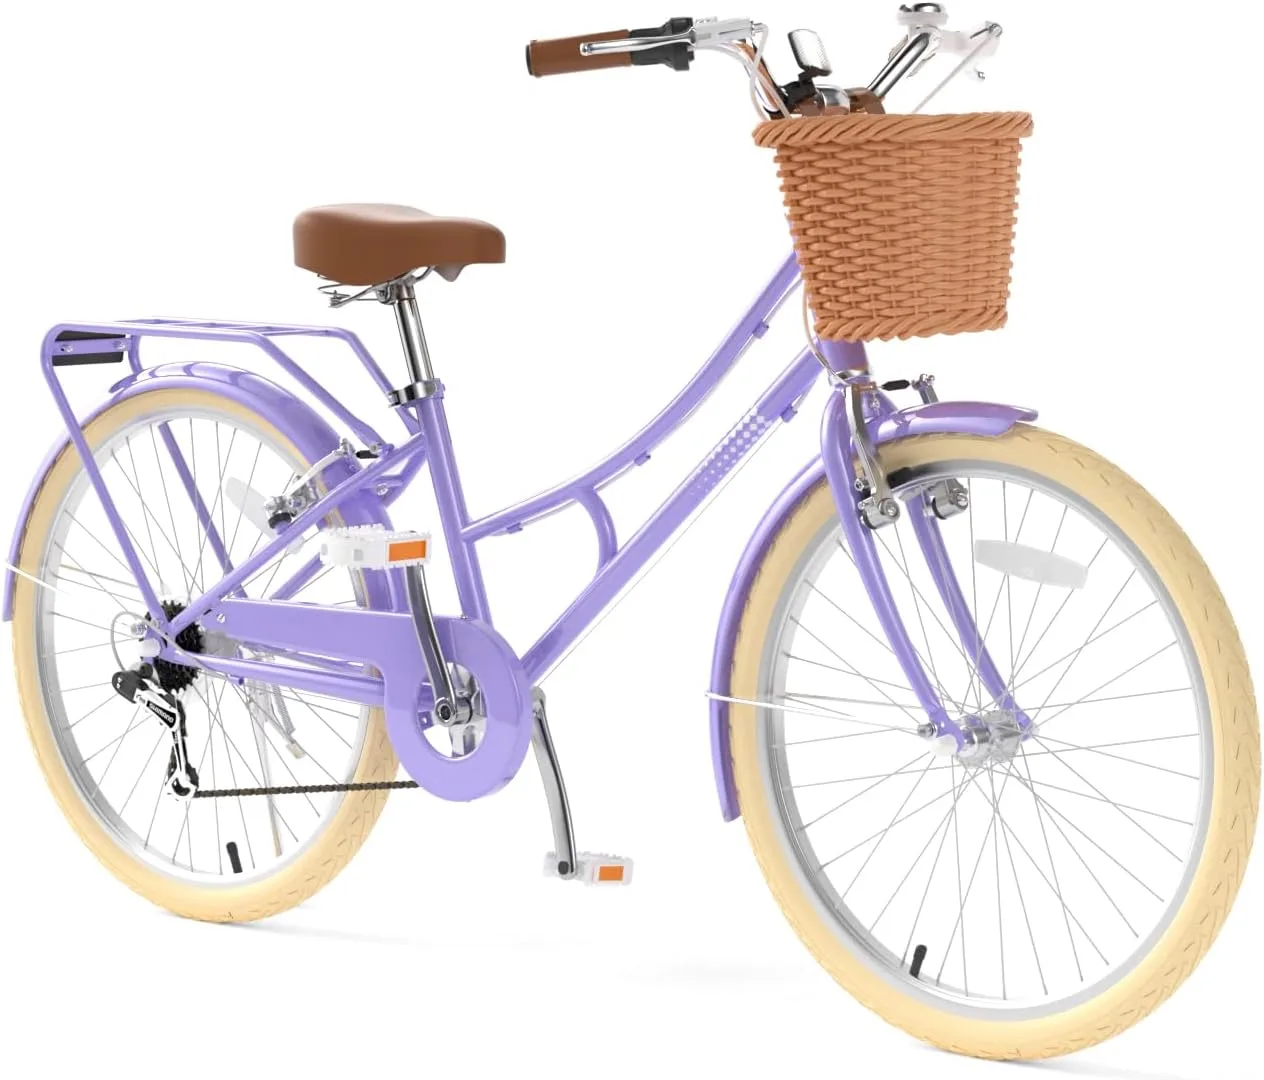
The Purple 24-inch XJD cruiser lists front and rear V-brakes and Shimano six-speed gearing. It provides a real rim-brake context for this inspection topic. The listing does not identify a pad manufacturer, wear limit or replacement compound, so those details need confirmation from the delivered brake and compatible service information. The linked model details are available for XJD Purple 24-Inch Cruiser with Shimano 6-Speed Gearing.
Quick checklist
- Identify the actual brake and pad.
- Read its own wear guidance.
- Inspect the entire contact area.
- Separate wear from cable adjustment.
- Verify compatible completed service.
Common questions
Does a firmer lever prove the pads are sound?
No. Lever feel alone does not establish pad material, alignment or rim condition.
Can every visible groove be used as a wear limit?
No. Use the actual pad maker’s meaning and replacement criteria.
Can lubricant silence a noisy braking surface?
Do not put lubricant on braking surfaces. Have unexplained noise and contamination assessed appropriately.
Related collections
The XJD product catalog and XJD bicycle equipment background provide further model details. Check the exact selected configuration when planning fit, handling and care.
Before the next outing
Check bicycle rim brake pad wear against the actual fitted component and its full contact area. Clear condition evidence and compatible service provide a stronger basis for returning to riding than a cable adjustment or a guessed replacement interval.