


Bicycle Left and Right Pedals: Understand the Threads Before Assembly
Bicycle left and right pedals can look almost identical in the box, yet their threads are different. Identify the pair before starting assembly rather than trying one side until it feels tight. A pedal that begins crookedly can damage the crank. Keep the bicycle out of use until a competent adult has completed the exact manufacturer’s fitting and security checks.
Identify bicycle left and right pedals from the rider’s position
Left and right refer to the sides seen by a seated rider facing forward. Look for an L or R marking on the pedal spindle or wrench flats, following the supplied instructions. The right side is normally the chainring side on the linked conventional bicycles. Do not identify a pedal only from reflector position, tread appearance or the direction a loose pedal happens to face in the carton.
Understand why the left pedal is different
The conventional right pedal uses a right-hand thread; the left pedal uses a left-hand thread. Viewed from the outside of its own crank, the right installs clockwise and the left counterclockwise. Viewing a hex fitting from behind the crank changes how the movement appears. If the viewpoint or thread identity is confusing, obtain competent help before applying a wrench rather than relying on a remembered turning slogan.
Treat resistance as a reason to stop and recheck
A competent assembler should use the exact model’s procedure, preparation and specified tools. Check alignment and compatible parts before force is applied. If the pedal will not begin correctly, do not use a longer wrench, a powered tool or repeated attempts to cut a path through the resistance. Crossed, damaged or contaminated threads require assessment. Fitting a pedal on the wrong side is not corrected by making it seem firmly attached.
Finish with the actual specification and a complete inspection
Use the manufacturer’s requirements for thread treatment and final tightening; no universal torque or spindle diameter is supplied here. Replacement pedals also need compatibility confirmation rather than a color match. Keep children clear of tools, chains and moving cranks during work. Before riding, verify pedal retention and free operation along with the whole bicycle’s prescribed readiness checks. A quiet spin in a work area does not prove an uncertain attachment is secure.
Model details relevant to this task
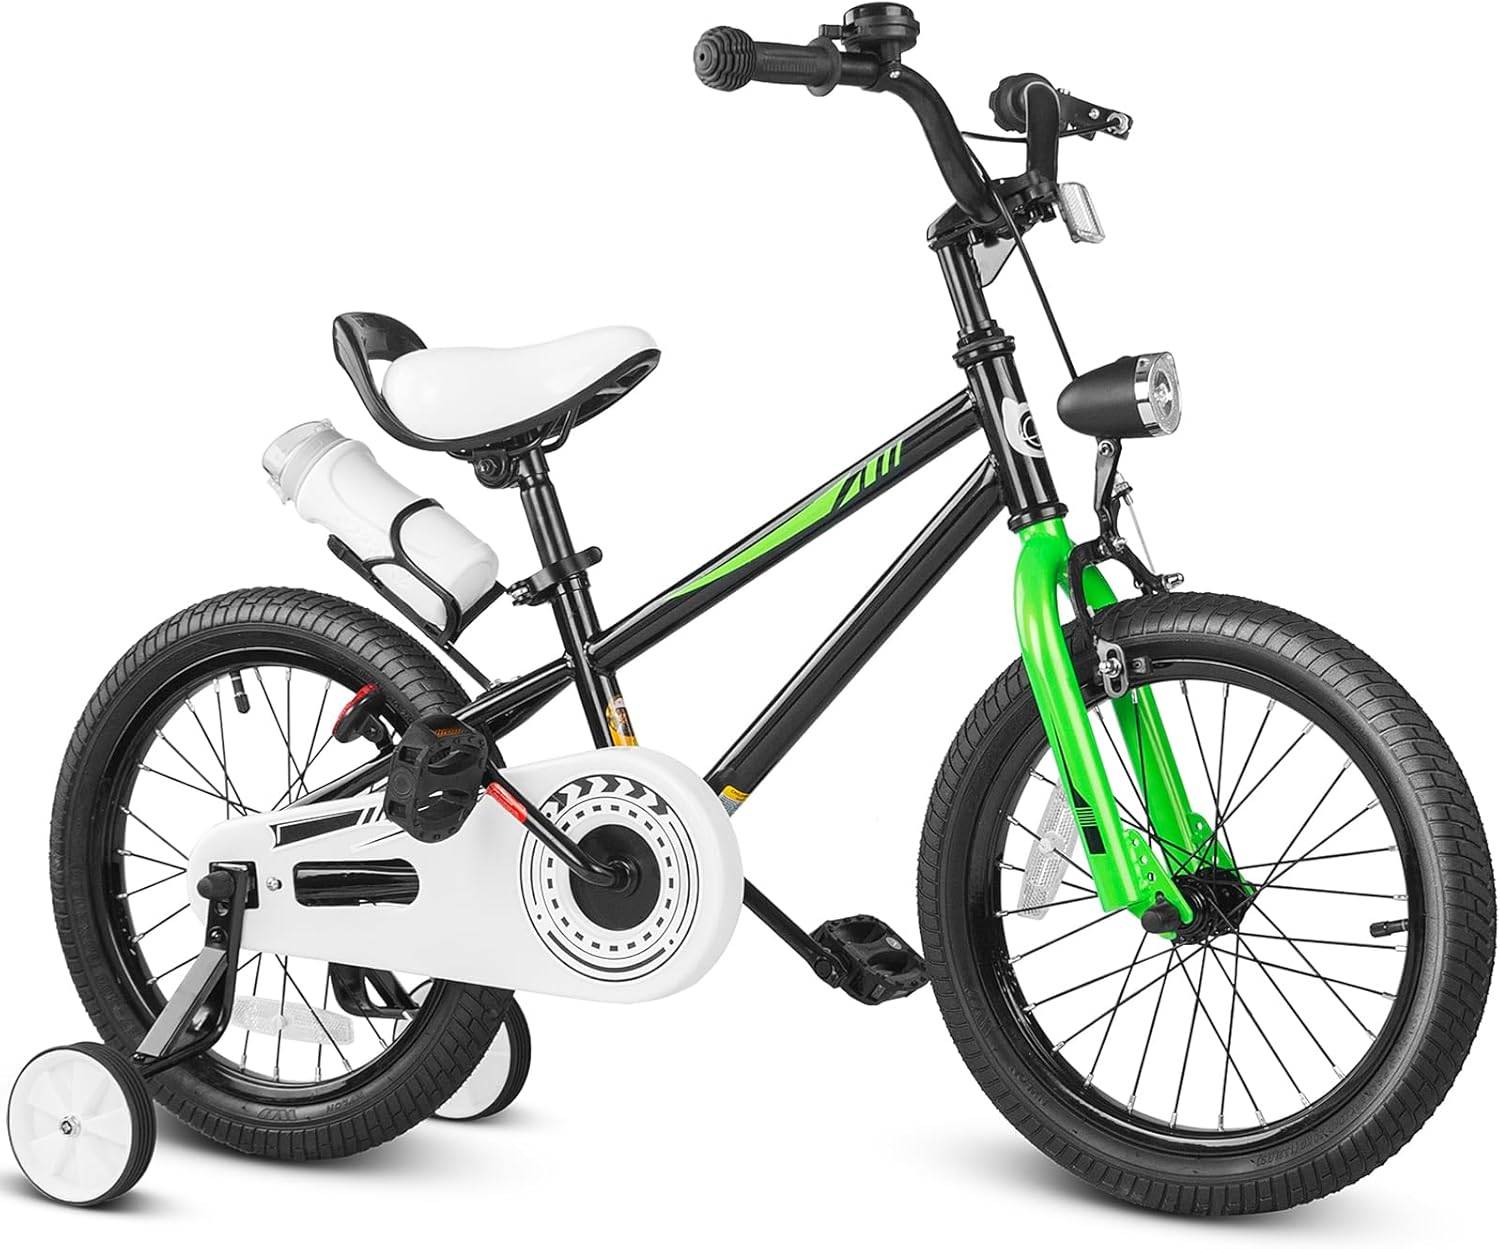
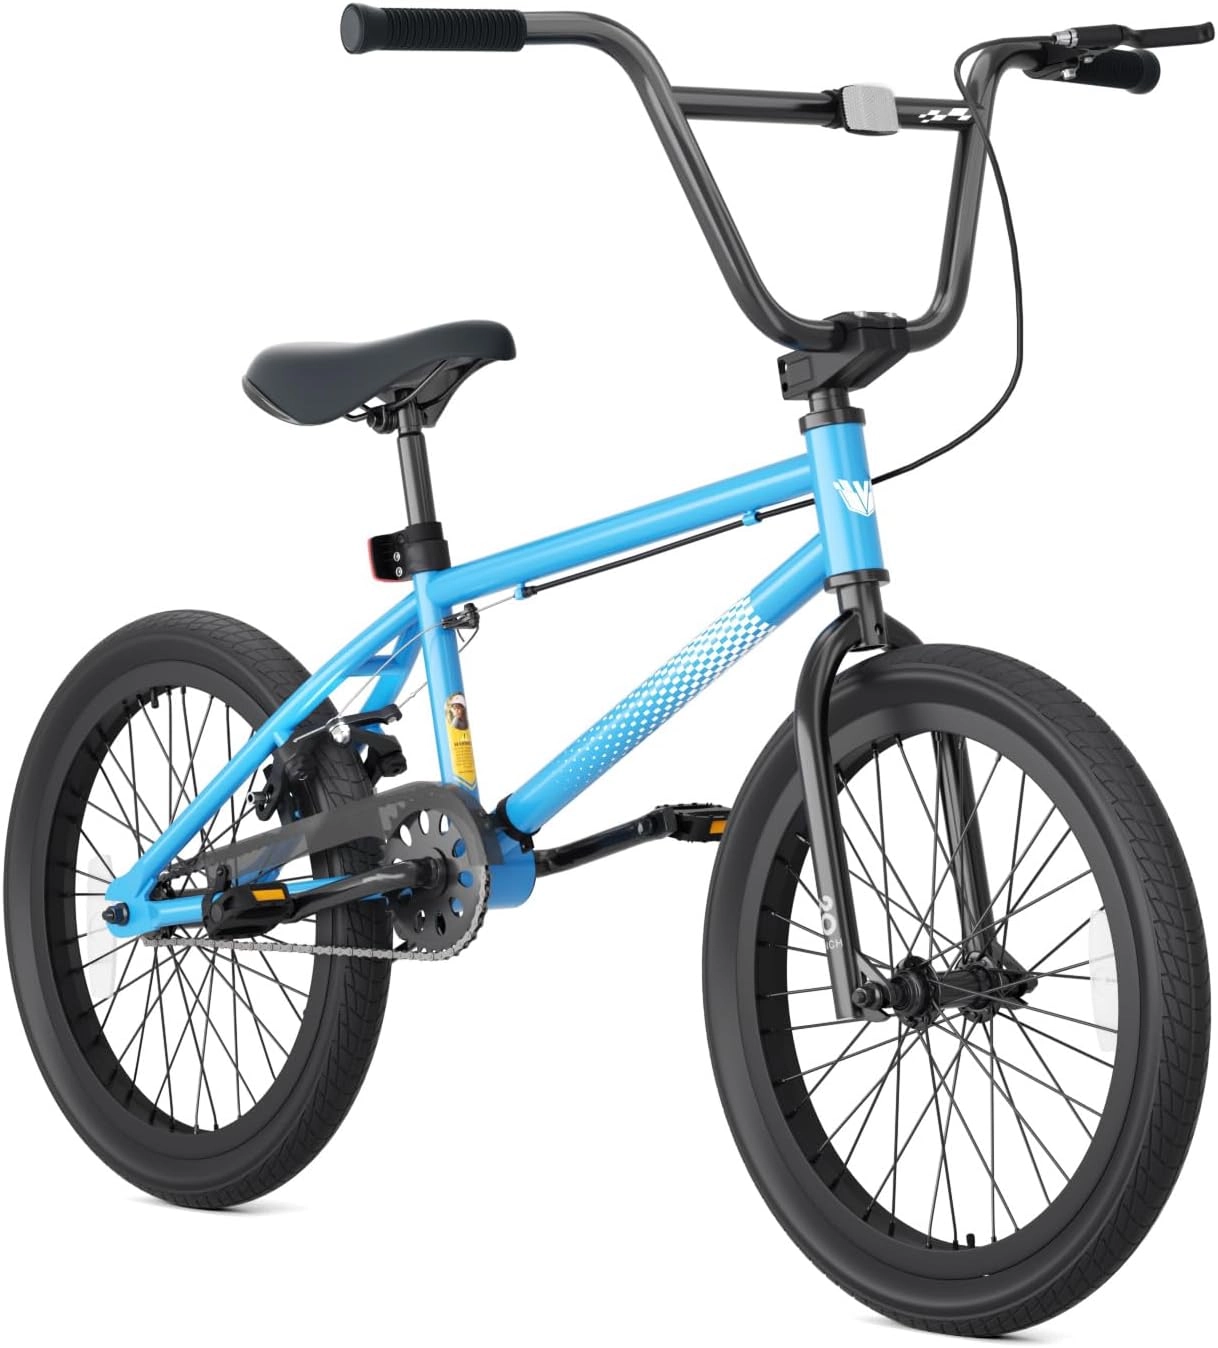
Best Bicycle’s Black XJD learning bicycle lists a chain guard and training wheels. The Blue Basic BMX is a separate single-speed 20-inch model with a listed 165 mm crank. Those facts do not establish a common pedal thread diameter or interchangeable replacement pair; obtain the exact delivered crank and pedal specifications. The linked model details are available for XJD Black Boys' Pedal Bike with Chain Guard and Training Wheels, XJD Blue 20-Inch Single-Speed BMX – Basic Model without Pegs.
Quick checklist
- Use the seated rider’s left and right.
- Read L and R markings.
- Confirm the turning viewpoint.
- Stop for resistance or damaged threads.
- Use exact final tightening requirements.
Common questions
Are left and right pedals interchangeable?
Conventional bicycle pedals have opposite thread directions and must go on their correct sides.
Can crank length identify the pedal thread size?
No. A crank-length specification does not supply spindle diameter or replacement compatibility.
Should a longer wrench overcome a difficult start?
No. Stop and have alignment, identity and thread condition checked before applying more force.
Related collections
The XJD product catalog and XJD bicycle brand background provide further model details. Check the exact selected configuration when planning fit, handling and care.
Before the next outing
Treat bicycle left and right pedals as an identification task before a tightening task. Clear markings, the correct viewing direction and prompt attention to resistance protect the assembly from a mistake that a stronger wrench cannot resolve.