


Bicycle Brake Pad Direction: Read the Exact Pad and Holder Markings
Bicycle brake pad direction concerns how an identified pad or holder belongs on the bicycle. It is not the same question as the angle at which the pad first contacts the rim. Before moving anything, identify the brake and replacement system. Forward arrows, left and right markings or a holder’s open end can have a defined role, but a general bicycle photograph cannot settle the complete installation.
Identify whether the whole shoe or an insert is involved
Rim-brake pads may be a complete one-piece unit or an insert retained within a separate holder. Park Tool discusses these as different replacement arrangements. Record which component is actually being supplied. A loose insert photographed beside the bicycle does not show how its holder must be mounted, while a whole pad assembly can include spacers and fastening parts that must remain correctly specified.
Read markings in the context of the assembly
Look for the manufacturer’s instructions and the markings on the actual components. A forward arrow refers to direction, while a left or right marking identifies a side in the stated procedure. Some cartridge arrangements also distinguish an open from a closed holder end. Preserve all those observations instead of using tread grooves or the package picture as the only reference. Do not transfer one holder’s rule to an unidentified brake.
Keep direction separate from other pad settings
A correctly oriented part still needs to be compatible with the rim and brake. Pad height, contact area, clearance, retention and any specified toe-in are separate matters. Turning a pad around is not a general cure for noise or uneven contact. If braking is uncertain or a part is loose, stop using the bicycle and arrange a complete assessment rather than a short riding experiment to see whether the change worked.
Use the bicycle listing to identify the enquiry
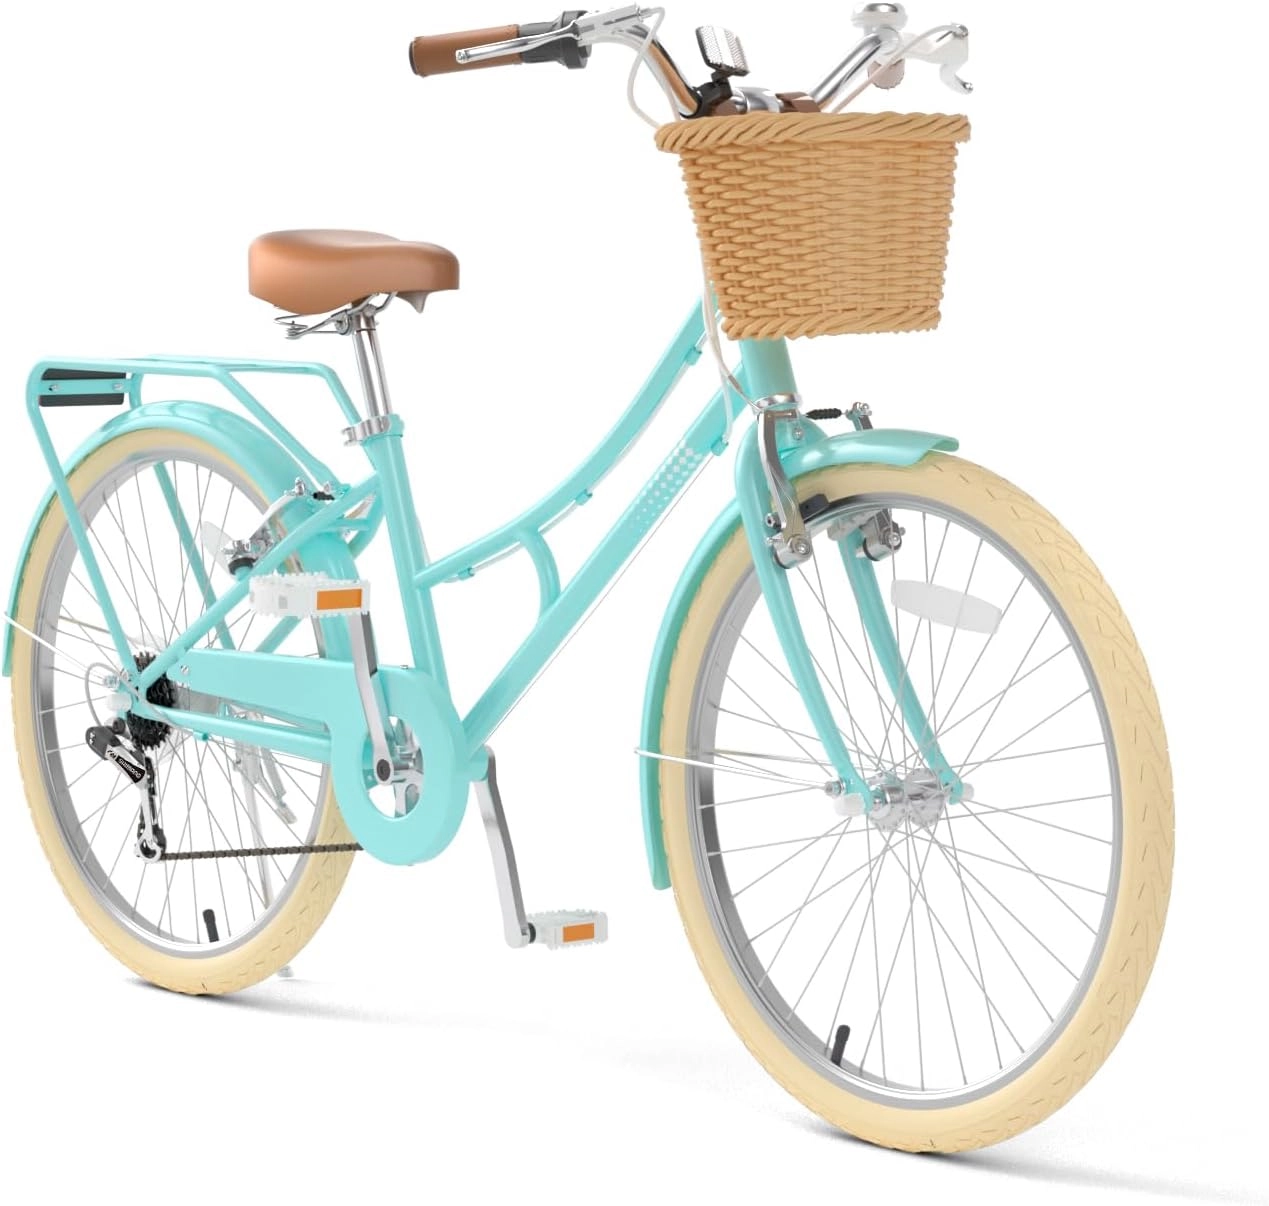
The Mint Green XJD cruiser lists front and rear V-brakes and wheel-size selections from 20 to 26 inches. This is a useful starting model description for support, not a pad part number. Provide the selected size, affected wheel and clear photographs of the fitted brake. Ask for the approved replacement and complete service guidance, including any distinct requirements for the insert and its holder.
Model details relevant to this task
The cruiser image shows rim-brake equipment, but it is not a close-up of every pad marking or retention detail. The article does not identify a particular replacement compound, tightening value or holder direction for all XJD wheel-size options. The linked model details are available for XJD Mint Green City Cruiser with Basket and Rear Rack.
Quick checklist
- Identify insert or whole shoe.
- Retain all directional markings.
- Separate orientation from adjustment.
- Confirm the complete compatible assembly.
FAQ
Is pad direction the same as toe-in?
No. Direction identifies orientation; toe-in describes a specified contact angle.
Do grooves alone identify the correct side?
Use the actual component markings and instructions rather than guessing from the visible pattern.
Does correct direction prove the brake is ready?
No. Compatibility, retention, adjustment and completed checks remain necessary.
Related collections
The XJD cruiser and pedal-bike details and 20-inch bicycle configurations provide further model details. Check the exact selected configuration when planning fit, handling and care.
Before the next outing
Read the part before changing the position. A clear record of the exact brake, pad and holder makes the replacement discussion more useful than a guess from grooves or symmetry.