


Bike Assembly Checklist Before First Ride: Verify the Exact Delivered Configuration
A bike assembly checklist before first ride should organize the correct model's instructions, not replace them with one universal set of tightening values. Identify the delivered bicycle and selected configuration before opening a tool kit. If a part, diagram or assembly step is unclear, keep the bicycle out of use and obtain competent help. A mostly assembled package still needs the prescribed final preparation and inspection.
Start the bike assembly checklist before first ride with identity
Match the order, wheel selection, delivered parts and manual before fitting components. Keep packaging hardware and small parts organized away from children. Check for damage or missing equipment and record issues for support. Do not substitute a similar-looking bolt or combine diagrams from different models simply to finish. The actual manufacturer sequence, tools and torque requirements govern the work.
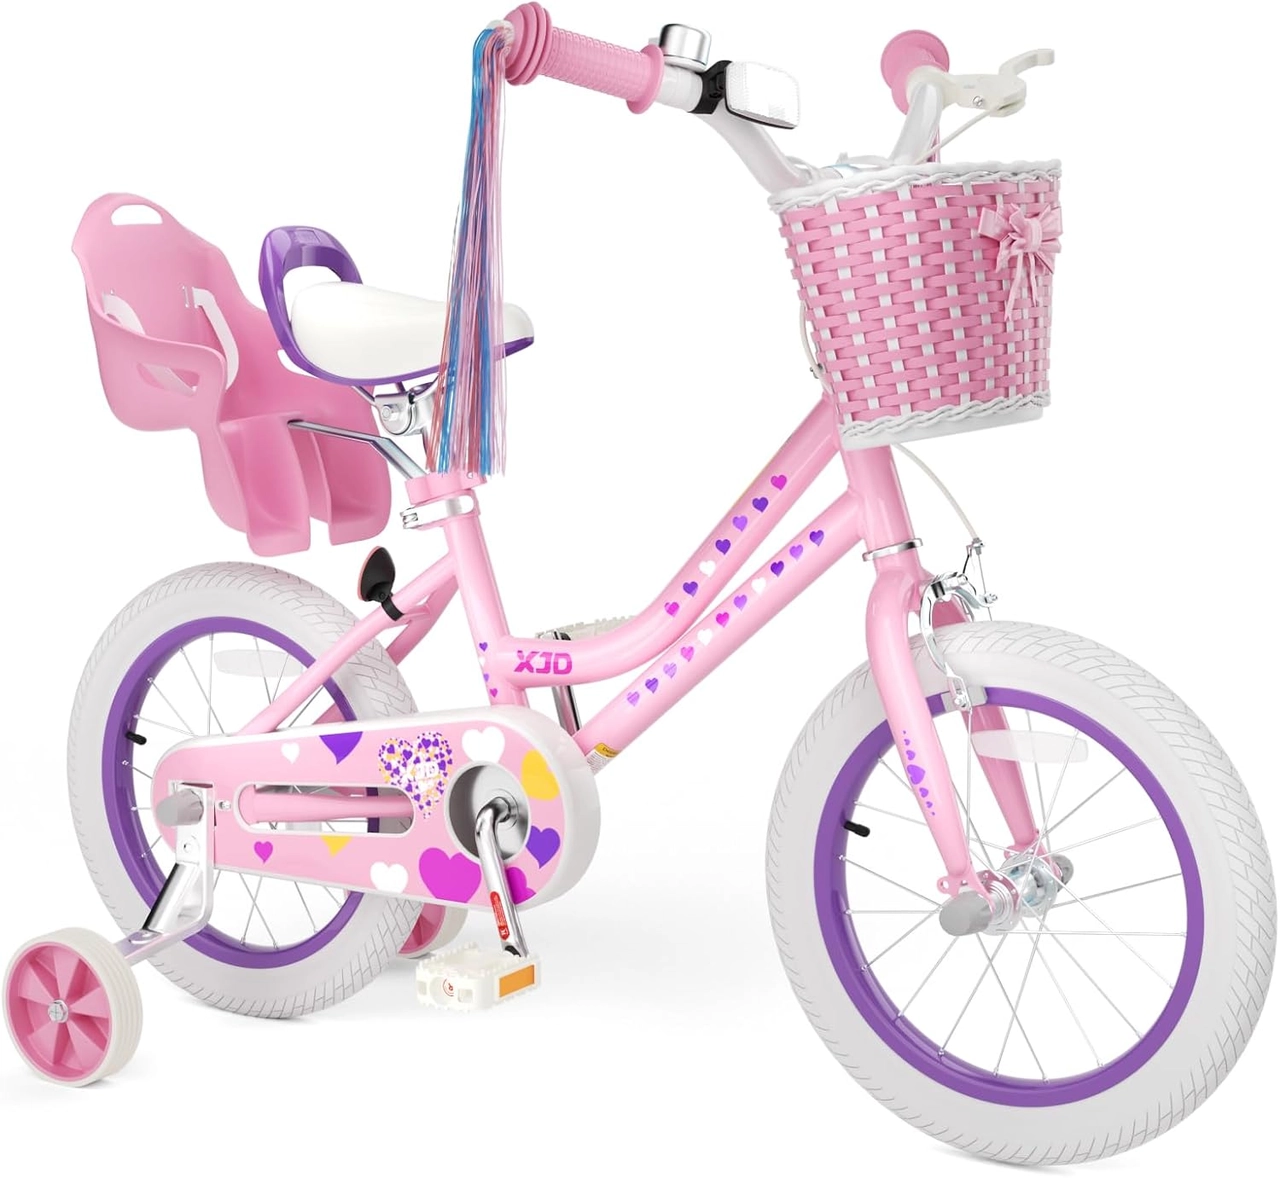
Confirm the model-specific support and drivetrain
The Light Pink basket family lists training-wheel arrangements for 12, 14 and 16-inch choices, while its 20-inch option uses a kickstand without training wheels. The Purple 24-inch cruiser has Shimano 6-speed gearing and V-brakes. The Blue 20-inch Basic BMX is single-speed with U-brakes and no pegs. These genuine differences prevent a generic checklist from assuming identical support, controls or included accessories.
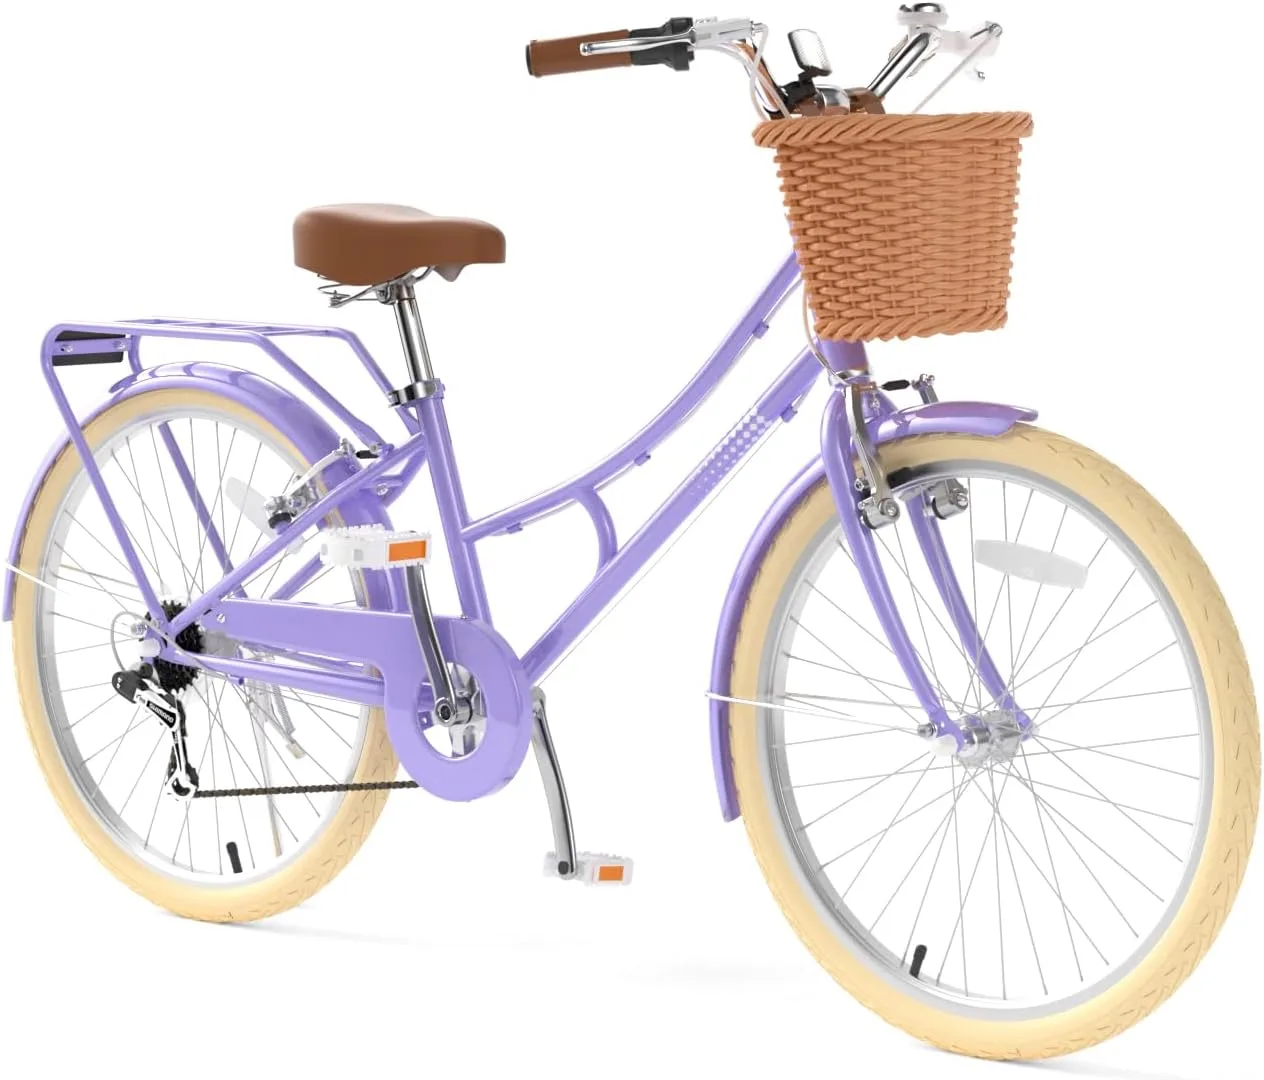
Have every required mechanical check completed
A competent adult or technician should follow the actual manual for wheel retention, steering, saddle and seatpost security, pedals, drivetrain and brakes. Confirm the fitted tire type and its own preparation requirements rather than inventing a universal pressure. Respect adjustment marks and keep required guards and bar-end protection intact. Check accessories through their approved mounting and clearance instructions; a tidy appearance is not proof of correct assembly.
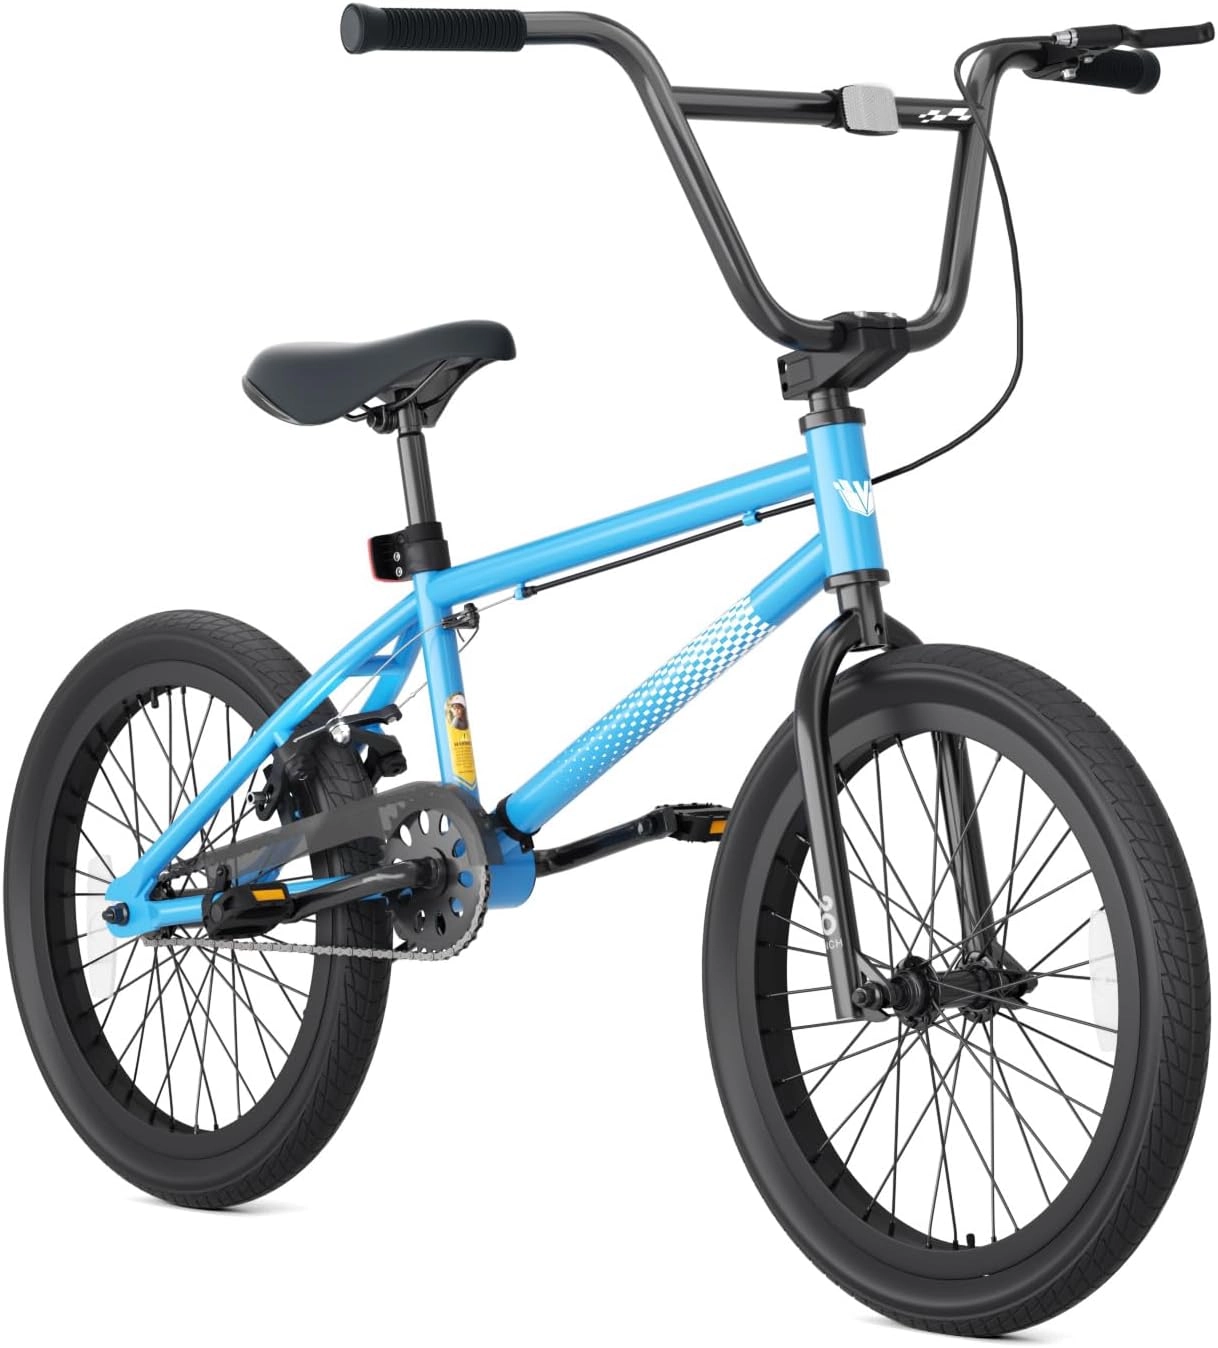
Separate completed assembly from rider readiness
Once mechanical preparation is verified, fit the individual rider and ensure manageable mounting, normal grip, pedal reach and operation of the supplied brakes. Keep carrying areas unloaded during this assessment. Prepare a fitted helmet, appropriate supervision and a suitable clear practice area. Stop for uncertain retention, control or fit; the first ride is not a test for an unfinished assembly step, a missing part or an unexplained noise.
Model details relevant to this task
The three real XJD pages illustrate why a first-ride check begins with exact configuration identity. Training support, gearing and package equipment differ. None supplies a shared torque chart, and the checklist does not certify work that has not been completed to the delivered instructions. The linked model details are available for XJD Light Pink Basket Bike for Girls – 12 to 20-Inch Choices, XJD Purple 24-Inch Cruiser with Shimano 6-Speed Gearing, XJD Blue 20-Inch Single-Speed BMX – Basic Model without Pegs.
Quick checklist
- Match the delivered configuration and manual.
- Account for every original required part.
- Use competent model-specific assembly.
- Complete all mechanical inspections.
- Fit and prepare the rider separately.
Common questions
Is a preassembled bicycle automatically ready to ride?
No. Complete the actual final assembly and all prescribed inspection steps.
Can one online tightening chart replace the delivered manual?
No. Use the exact manufacturer's requirements and competent help where needed.
Related collections
The XJD exact bicycle configuration pages and XJD brand reference overview provide further model details. Check the exact selected configuration when planning fit, handling and care.
Before the next outing
Use a bike assembly checklist before first ride to organize exact instructions, competent preparation and a separate rider-readiness assessment. A finished checklist is meaningful only when the actual delivered bicycle satisfies every required check.