


Gazelle handlebar adjustment: identify the historical stem before moving it
Gazelle handlebar adjustment begins by finding the stem’s identity, especially on an older city bicycle whose controls differ from a current showroom model. The general manual’s 2019 file describes several mechanisms. Its named branches help distinguish a change in stem height from tilting the assembly or rotating the bar. They do not make every Gazelle handlebar adjustable by the same lever.
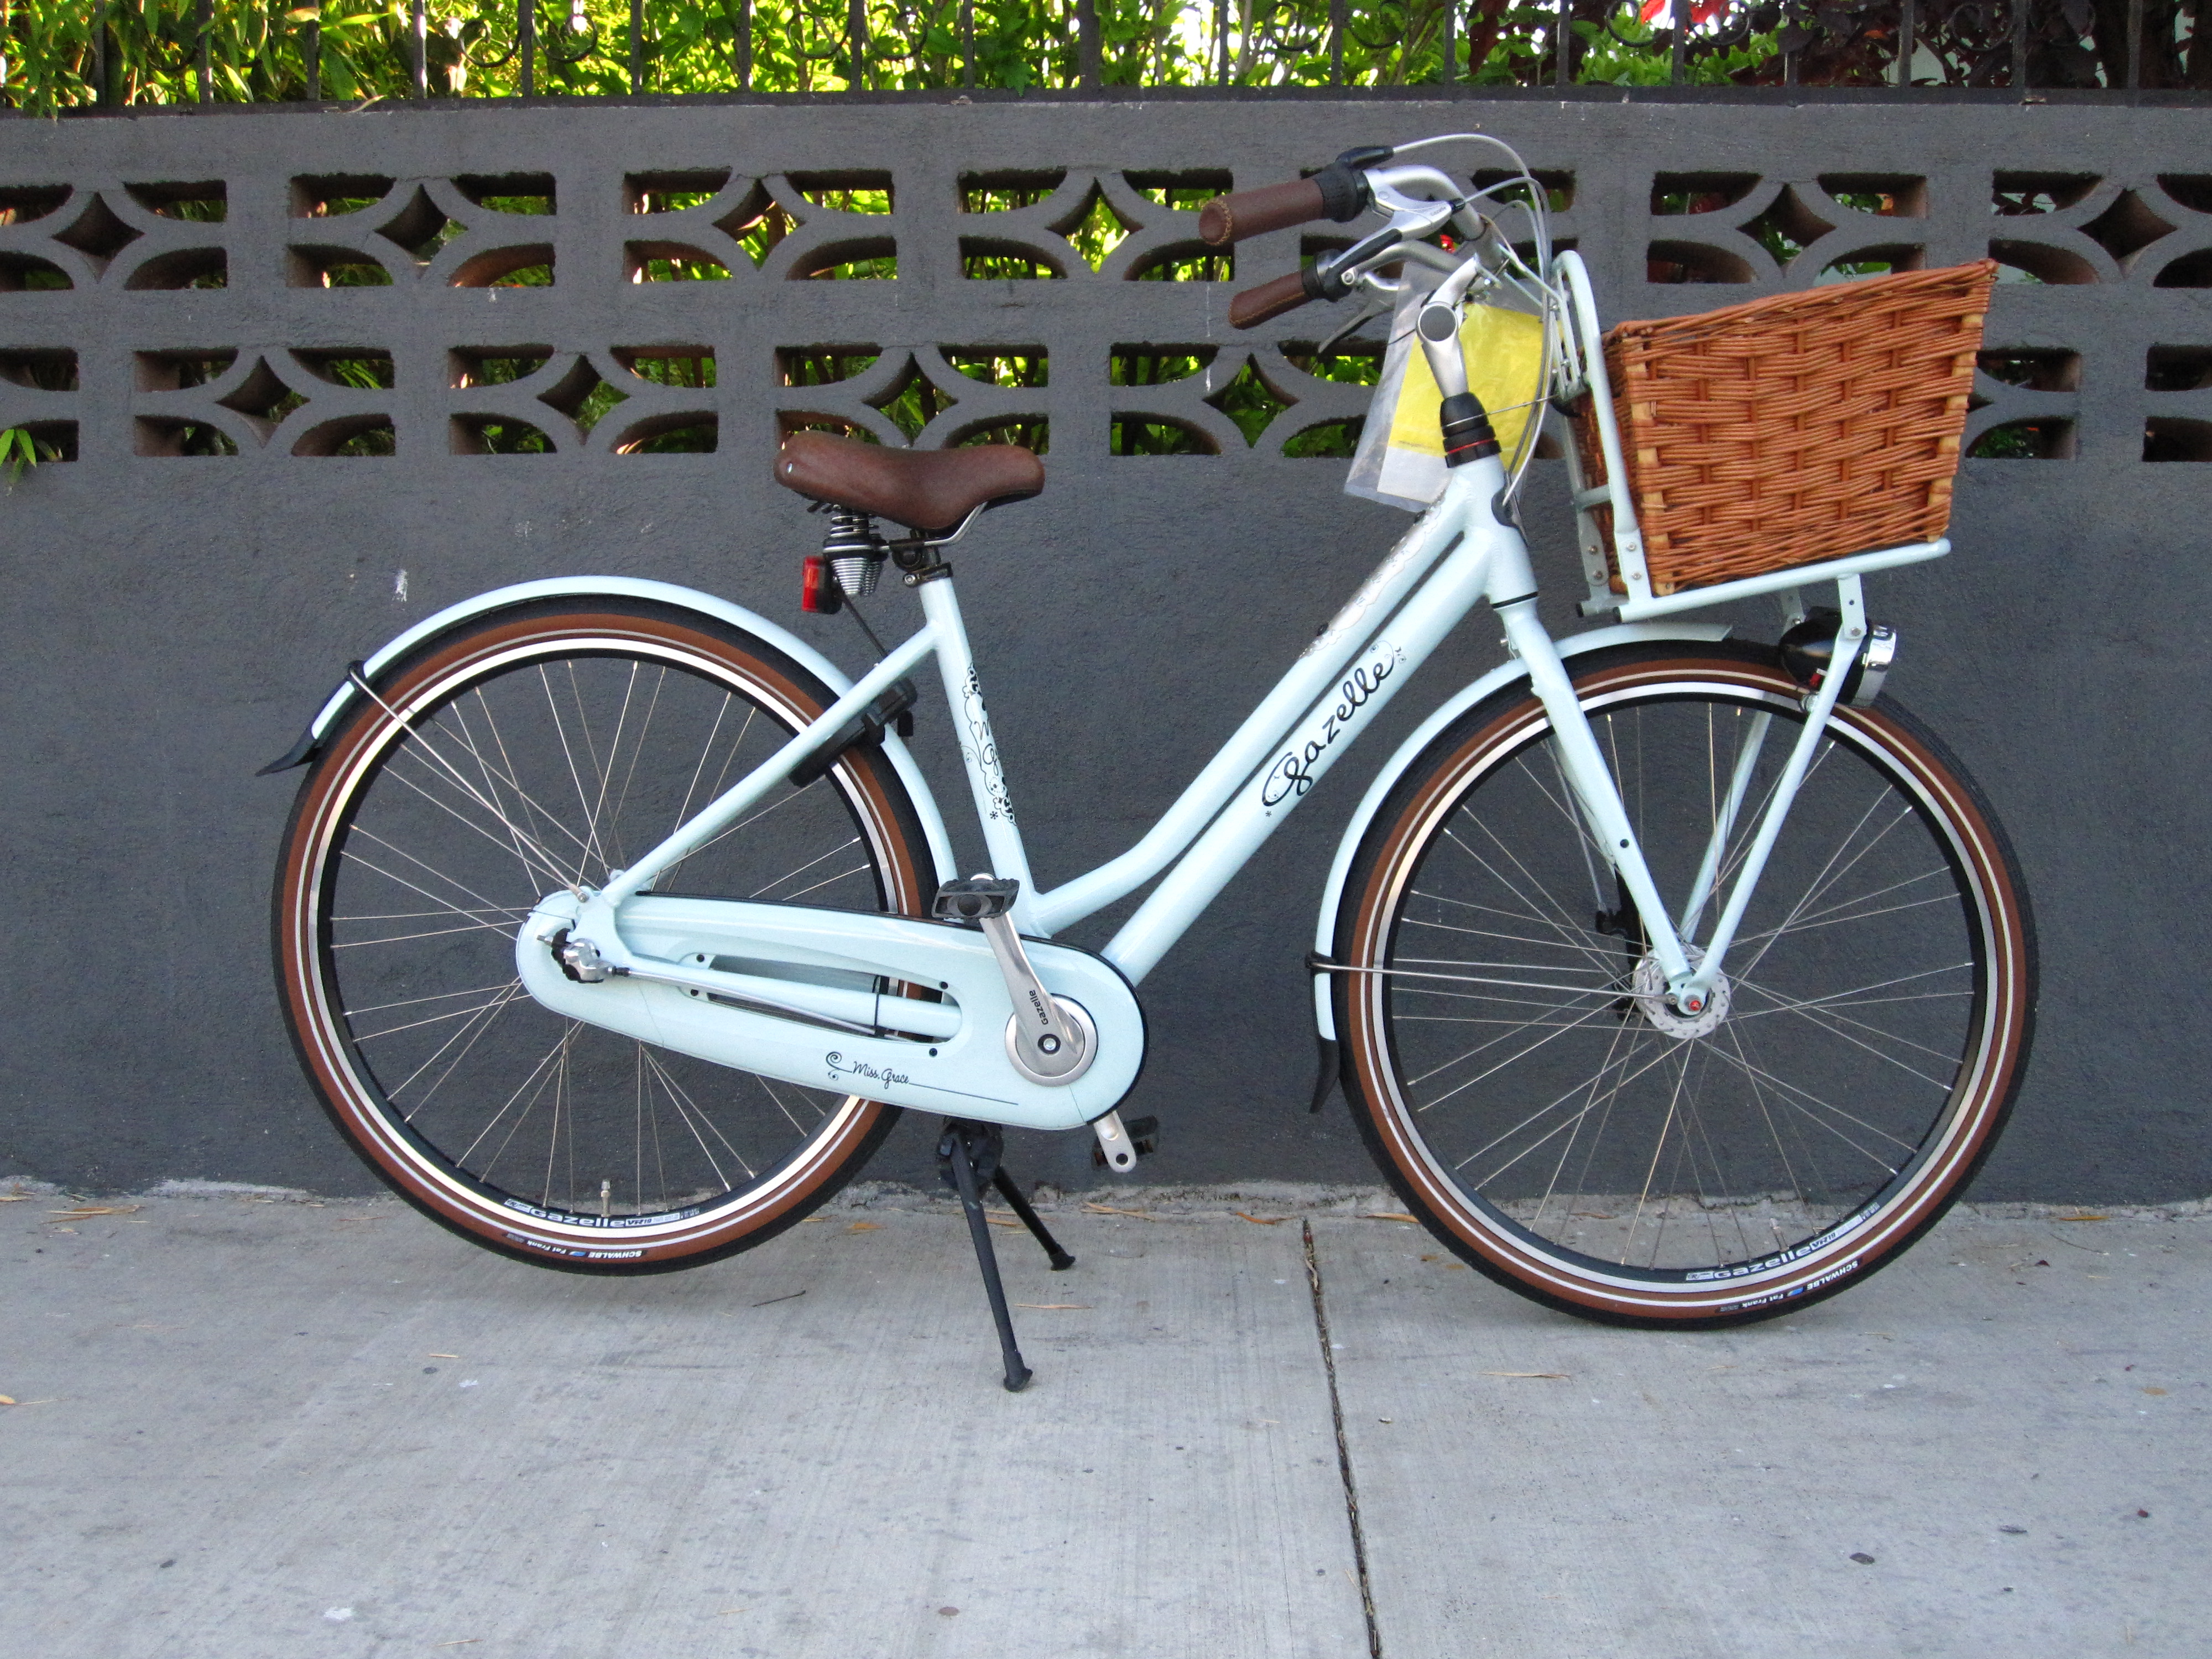
Match Gazelle handlebar adjustment to the fitted stem
In the manual’s Switch section, the lever-operated tilt system changes the handlebar position without tools. Changing the stem’s height is a separate operation involving a bolt exposed beneath that lever. Switch SL has its own height fasteners. Photograph the complete assembly and readable markings before choosing one of these instructions.
The distinction is practical: releasing a tilt mechanism is not proof that the stem can safely be pulled farther out. The book describes a six-millimetre Allen key for the regular Switch height bolt and five-millimetre bolts for Switch SL. Those tool references belong to the illustrated mechanisms, rather than identifying an unknown stem by themselves.
Separate height, assembly angle and bar rotation
Other entries describe Magix and Smica assemblies clamped directly around the steerer, plus Shuttle, New Shuttle and fixed stems. Their illustrations assign different bolts to height, the front assembly and the handlebar tube. A rider seeking less reach should first explain the position they want, then have the actual mechanism assessed instead of loosening every visible fastener.
Keep cable routing and the fitted controls visible during that discussion. An owner’s record should show the original position as well as the stem’s name. The manual’s range of designs is a reason to obtain a matching demonstration, particularly if the bicycle has acquired replacement bars or a different stem during its life.
Use the insertion mark as a limit
The historical guide requires the stem’s safety marking to remain in the specified position; for Switch it describes the steerer reaching at least the min/insert mark. Raising a handlebar until the desired posture is reached cannot override that engagement requirement. Make adjustments while stationary and use the applicable fastening instructions.
Stiffness, creaking or headset play calls for a Gazelle specialist’s assessment. The same chapter says a bent or damaged handlebar must be replaced and warns against bending it back. A comfort adjustment and damage repair are different appointments. Settle structural concerns before trying to compensate for them through a new riding position.
Stem identification FAQ
Does opening the Switch lever also authorize more stem extension?
No. Tilt and height are separate operations, and the required insertion engagement still applies.
Can an Allen-key size identify my stem conclusively?
No. Match the complete assembly, markings and illustration; several unrelated fasteners can use the same tool.
What should I do if the handlebar was bent in a fall?
The manual calls for replacement of a damaged handlebar, rather than bending it back into shape.
For another contact-point question, read the saddle and seatpost guide. The Gazelle brand background and Gazelle collection provide the broader context.
References: 2019 general manual (https://resource.pon.bike/by/asset/2e231c0f-5703-4409-a370-e00260a2d8ef/GAZ_ALG_EN_19_1-pdf.pdf).
Photograph credits and permissions
Photograph 1
Original title: Gazelle Miss Grace 54cm at Flying Pigeon LA
Creator: Umberto Brayj
Original source URI: https://www.flickr.com/photos/ubrayj02/5716533759/
License / permission: CC BY 2.0
License / permission URI: https://creativecommons.org/licenses/by/2.0/
Modification notice: Original JPEG unchanged.