


Canyon Grizl Assembly: Prepare the Correct Guides for an Older Bike
Canyon Grizl assembly starts before a bolt is tightened: identify the bicycle and gather the correct instructions. Canyon maintains a support section specifically for Grizl models from 2021 through 2025. That distinction is useful for an older delivery, a carefully reboxed bicycle or a used purchase needing its setup checked.
Choose the Matching Canyon Grizl Assembly Resources
The Grizl 2021–2025 support page groups assembly help, manuals and related service topics. Use it as the starting point for a bicycle from that platform period, then confirm the exact frame and installed equipment.
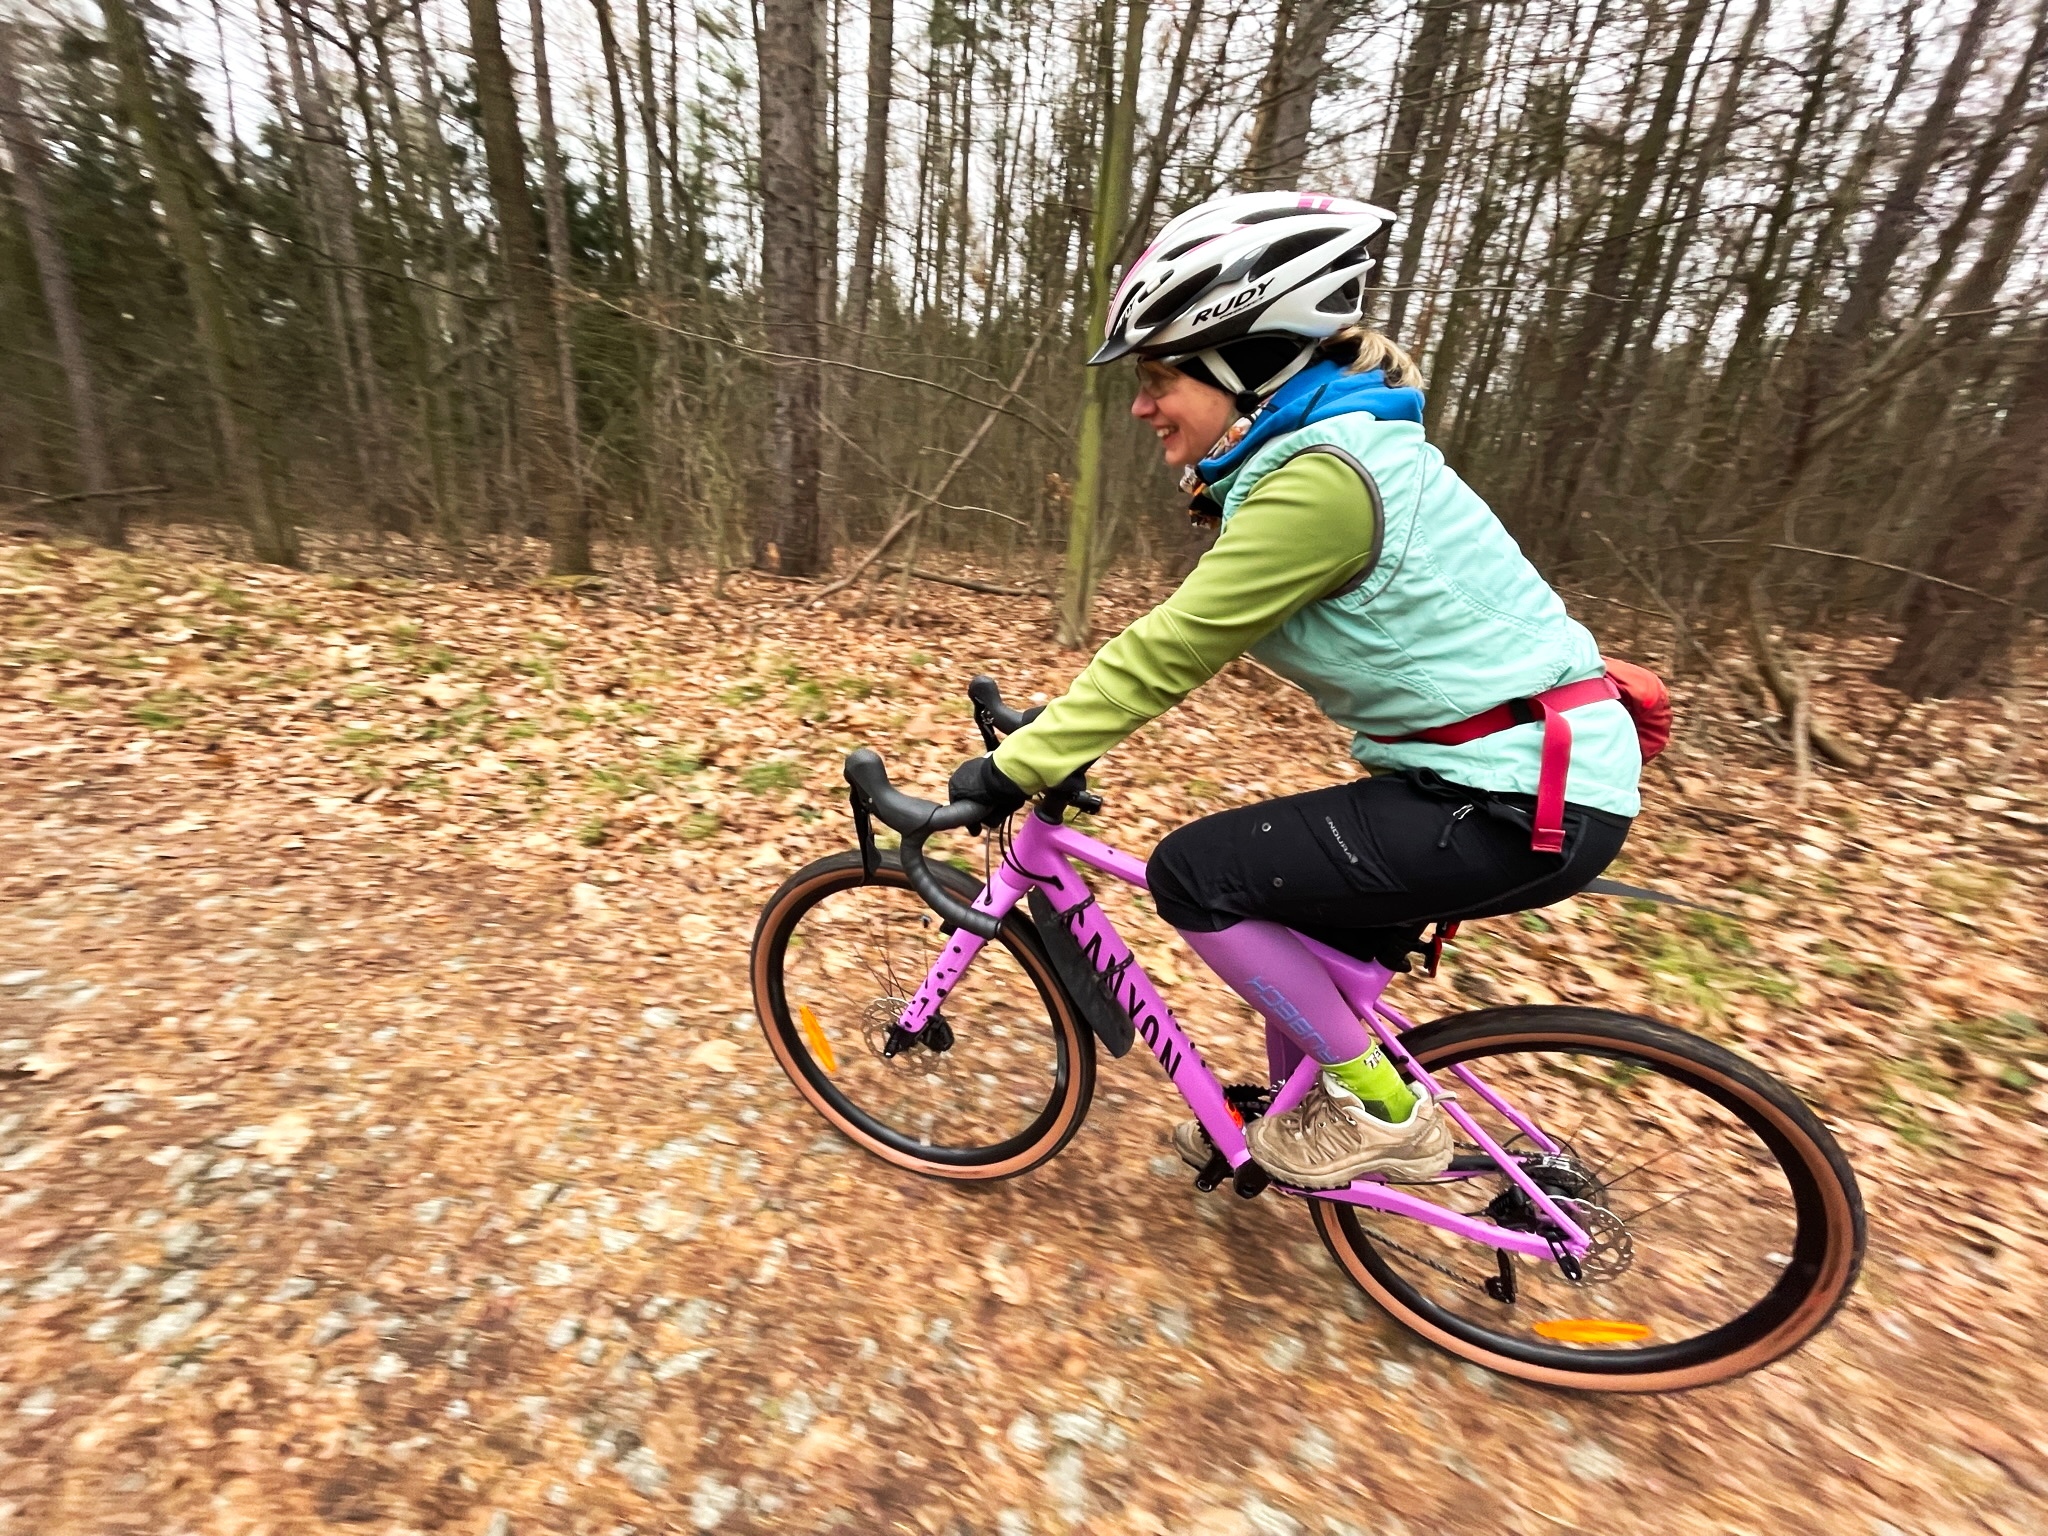
The January 2023 photograph shows a Grizl 6 WMN already being ridden. It supplies historical model context, not a sequence of assembly photographs. Do not use the pictured saddle height, handlebar angle or other rider-specific adjustments as a template for your own setup.
Read the Guide Before Selecting a Procedure
The Grizl quick-start guide covers unpacking, handlebar installation, seatpost assembly, front-wheel installation, pedals and tire pressure. It includes different seatpost branches and identifies some steps as dependent on the model.
Read those branches before beginning. Determine which seatpost and fork are actually fitted, and collect any accompanying component instructions. The guide also states that it does not replace the complete user manual. Treat the short guide as part of the documentation set rather than a substitute for every maintenance and adjustment instruction.
Prepare the Workspace and Identify Uncertainty Early
Allow enough room to lay out packaging and small parts without mixing them together. Compare the unpacked contents with the instructions, keep protective pieces until the bicycle has been checked, and photograph any unexplained damage or missing item before proceeding.
Have the specified tools and materials ready. Follow the instructions at the relevant interface; do not apply a remembered torque or assembly compound indiscriminately. If a fitted part differs from the diagram, pause that step and establish which instructions apply. A used bicycle may contain equipment that differs from its original build.
Finish With the Documented Pre-Ride Checks
The quick-start guide includes a before-every-ride checklist covering brakes, component condition, fastenings and tire pressure. Work through the applicable checks after assembly, with the complete manual available for additional detail.
If you cannot establish correct steering, braking or wheel attachment, arrange professional inspection before riding. A short roll around the block does not resolve uncertainty about how an unfamiliar part should be installed. Record the completed setup and retain the manuals for future adjustments or reboxing.
FAQ: Preparing an Older Grizl
Should I follow the newest Grizl video automatically?
No. Select support for the actual platform and equipment. A newer frame or cockpit can require a different procedure.
Can one seatpost procedure cover every build?
The cited guide has separate seatpost versions. Identify the installed post and follow the matching instructions.
Is this article a substitute for the assembly manual?
No. It helps you prepare and choose documentation. Use Canyon’s complete instructions and component guidance for the actual work.
Prepared Canyon Grizl assembly reduces avoidable uncertainty. Use our parts-identification guide if hardware is missing, and visit the Canyon topic for more ownership references.